
今天小编为大家带来了Blender移动摄像机教程,想知道怎么做的小伙伴来看看接下来的这篇文章吧,相信一定会帮到你们的。
Blender怎么移动摄像机?Blender移动摄像机教程
1、首先我们进入到应用当中。

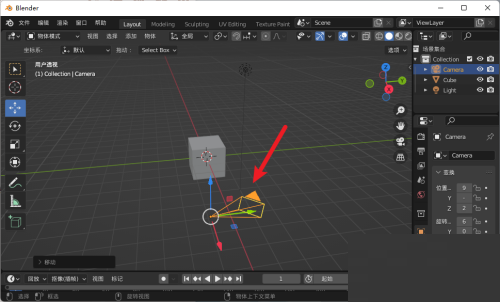
2、然后点击移动图标或按g键。
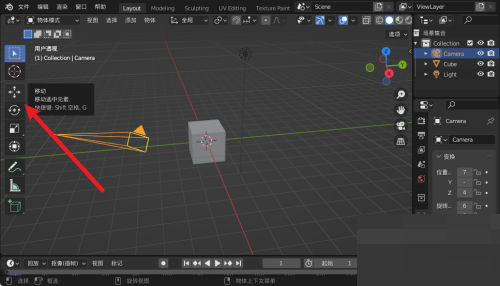
3、最后拖动摄像机到新的位置即可。
以上这篇文章就是Blender移动摄像机教程,更多教程尽在本站。
收藏
点赞
转载请注明:福友吧 » 教程 » Blender怎么移动摄像机?Blender移动摄像机教程
版权声明
本文仅代表作者观点,不代表xx立场。
本文系作者授权xx发表,未经许可,不得转载。